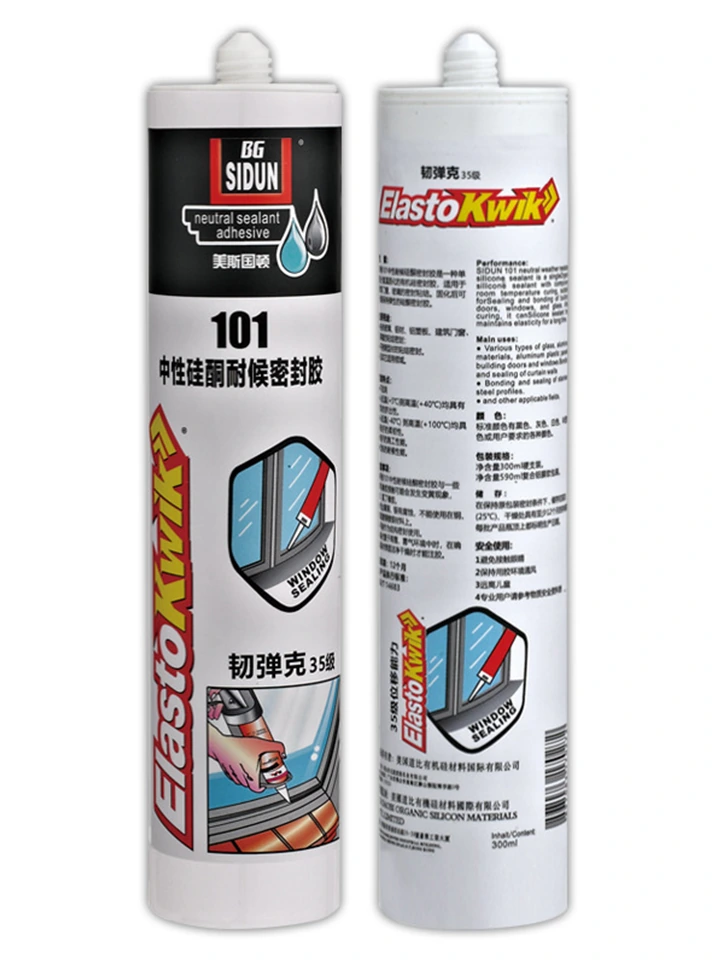
SIDUN 101
101 Neutral Silicone Weatherseal
Neutral-cure silicone
Application: Window and door perimeter sealing
Pack: 300 mL cartridge · 24 cartridges

SIDUN · Knowledge Center
Separate perimeter sealing, profile end-face or gap sealing and assembly bonding. Identify the role of the detail first, then review the model against the materials, finish and installation or fabrication process.
A perimeter joint connects a frame with the surrounding construction. End faces and mitred connections involve fabrication details within the frame. Assembly bonding involves how components are joined and handled. These tasks should have their own application description.
Include the profile material and coating, adjacent substrate, joint dimensions, exposure and expected movement. Application method, preparation and later manufacturing steps help define the evaluation. A labelled drawing is often more useful than a broad request for window adhesive.
A product used to fill or seal a frame gap should not be assigned a load-bearing corner-bonding role without the corresponding specification. Similarly, the name of a substrate alone does not establish compatibility with its coating or surface treatment.
101 is a neutral silicone direction for selected perimeter and building-sealing details. PU388 is a separate polyurethane direction for profile end-face and gap sealing. 108 focuses on sanitary installation and selected sealing details, and should be evaluated within its own intended use.
Share the assembly drawing or photographs, the surfaces and finishes and the stage at which the material is applied. Request samples and relevant product information around that detail so that the purchasing decision remains connected to the actual process.
Use a model and a clear application brief when requesting samples, technical information or a quotation.
Neutral-cure silicone
Application: Window and door perimeter sealing
Pack: 300 mL cartridge · 24 cartridges
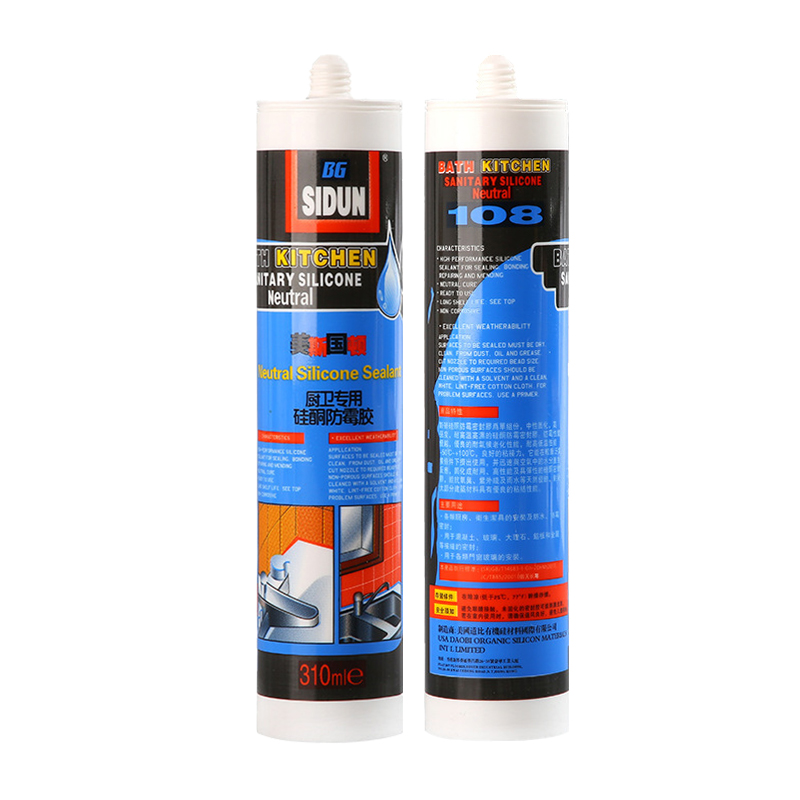
Neutral-cure silicone
Application: Kitchen and bathroom fitting installation
Pack: 310 mL cartridge · 24 cartridges
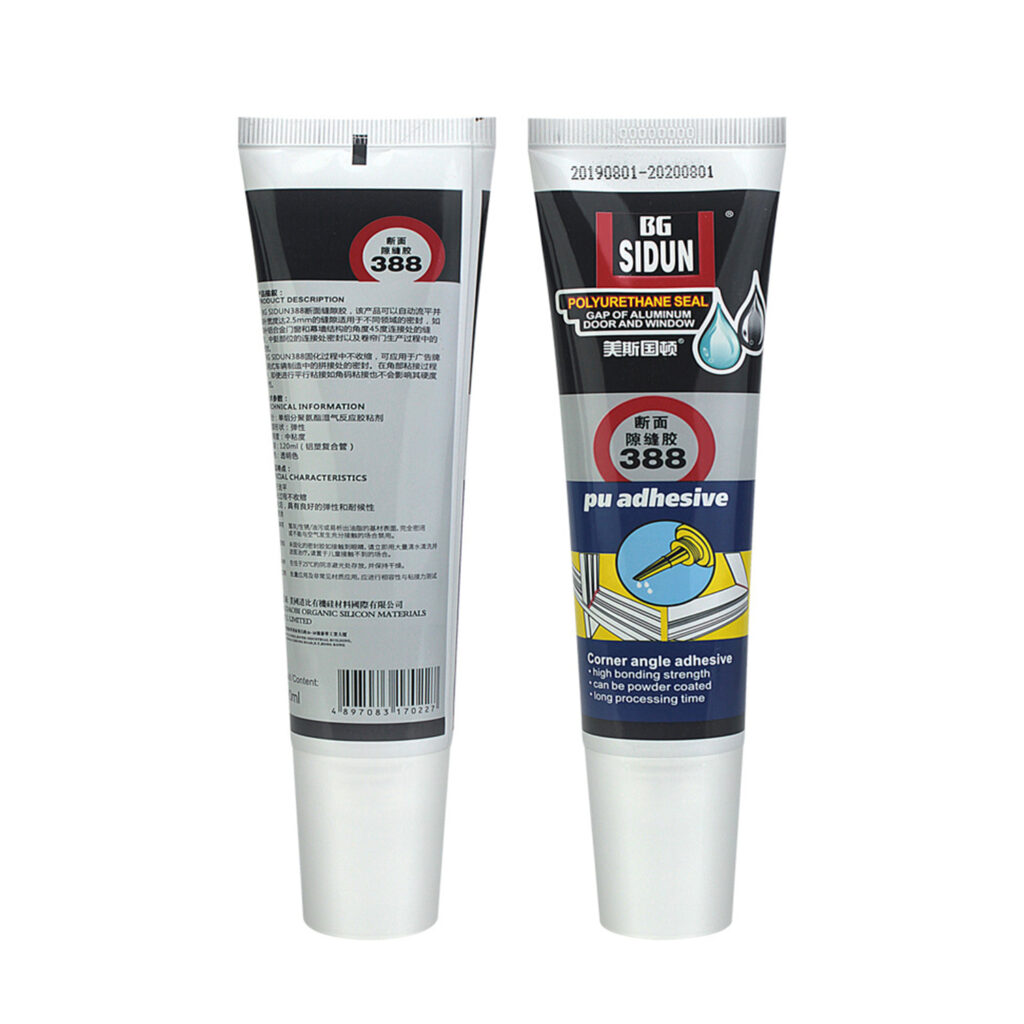
Polyurethane
Application: Selected aluminium profile end-face sealing
Pack: 120 mL tube · 30 tubes
SIDUN 101 is a starting point for selected perimeter weathersealing enquiries. PU388 is a model to discuss for selected profile end-face or gap sealing. Compare the application descriptions against the marked detail. Window and door applications.
Confirm the finish on both sides of the joint, use representative production samples and agree how adhesion will be checked. ASTM C1521 describes ways to evaluate adhesion of an installed weatherproofing sealant joint when an on-site check is specified. ASTM C1521 installed-joint adhesion practice.
Attach a marked cross-section, both substrate and finish names, the expected joint movement and exposure, the model if known and the performance requirement. For repairs, add photographs taken before removal and the existing material if known. Discuss a window or door detail · Compare silicone cure types.
Share your application, destination market and purchasing needs. We can discuss product selection, sample evaluation, packaging and a focused B2B supply plan.